Welcome to Regina
Since 1919
About Regina
History
Research and Innovation
Total Quality Management
Engineering
Manufacturing
Testing
Certifications
Regina Chain Worldwide
Corporate Values
Governance & Procedures
Products & Solutions
Conveyor
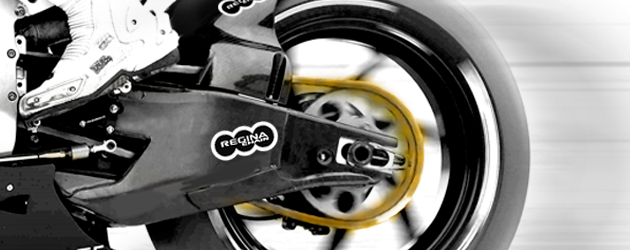
Motorcycle
Industrial
Support
Contacts
Product Support Inquiries
Downloads
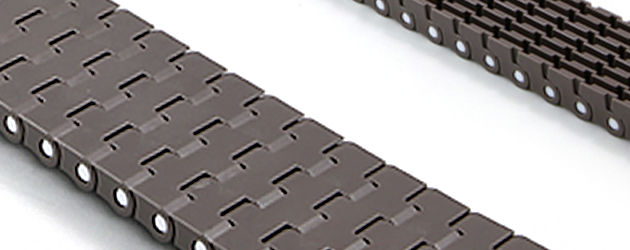
Conveyors chains and belts
Motorcycle chains
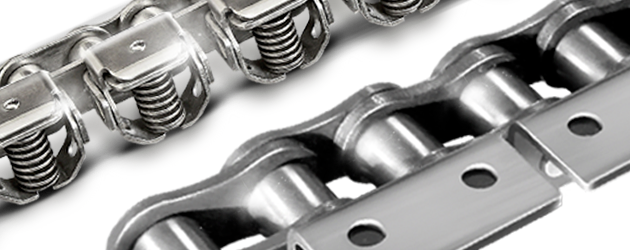
Industrial chains
Media & Press
News
Videos
English
Español
Deutsch
Italiano
简体中文
Français
Русский
Regina Industrial Solutions
World leading portfolio
of Standard & Special Chains
and application components
Regina Industrial Solutions
World leading portfolio
of Standard & Special Chains and application components
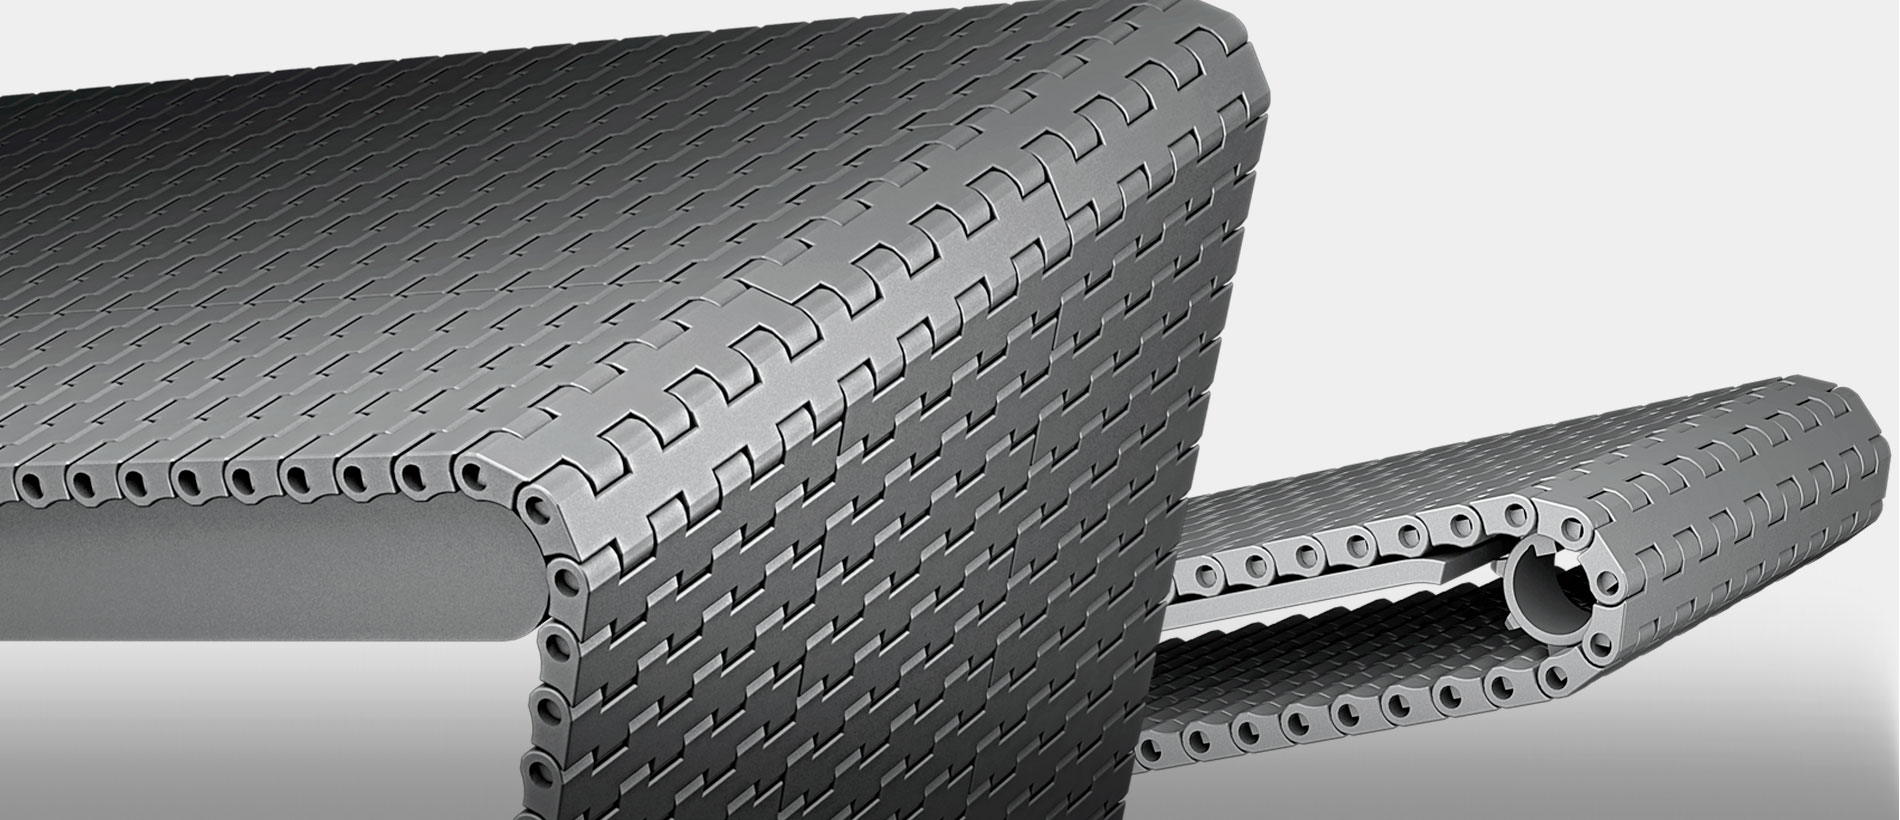
Matveyor
Modular Belts and Components
Modular Belts and
Components
Matveyor
Modular Belts and Components
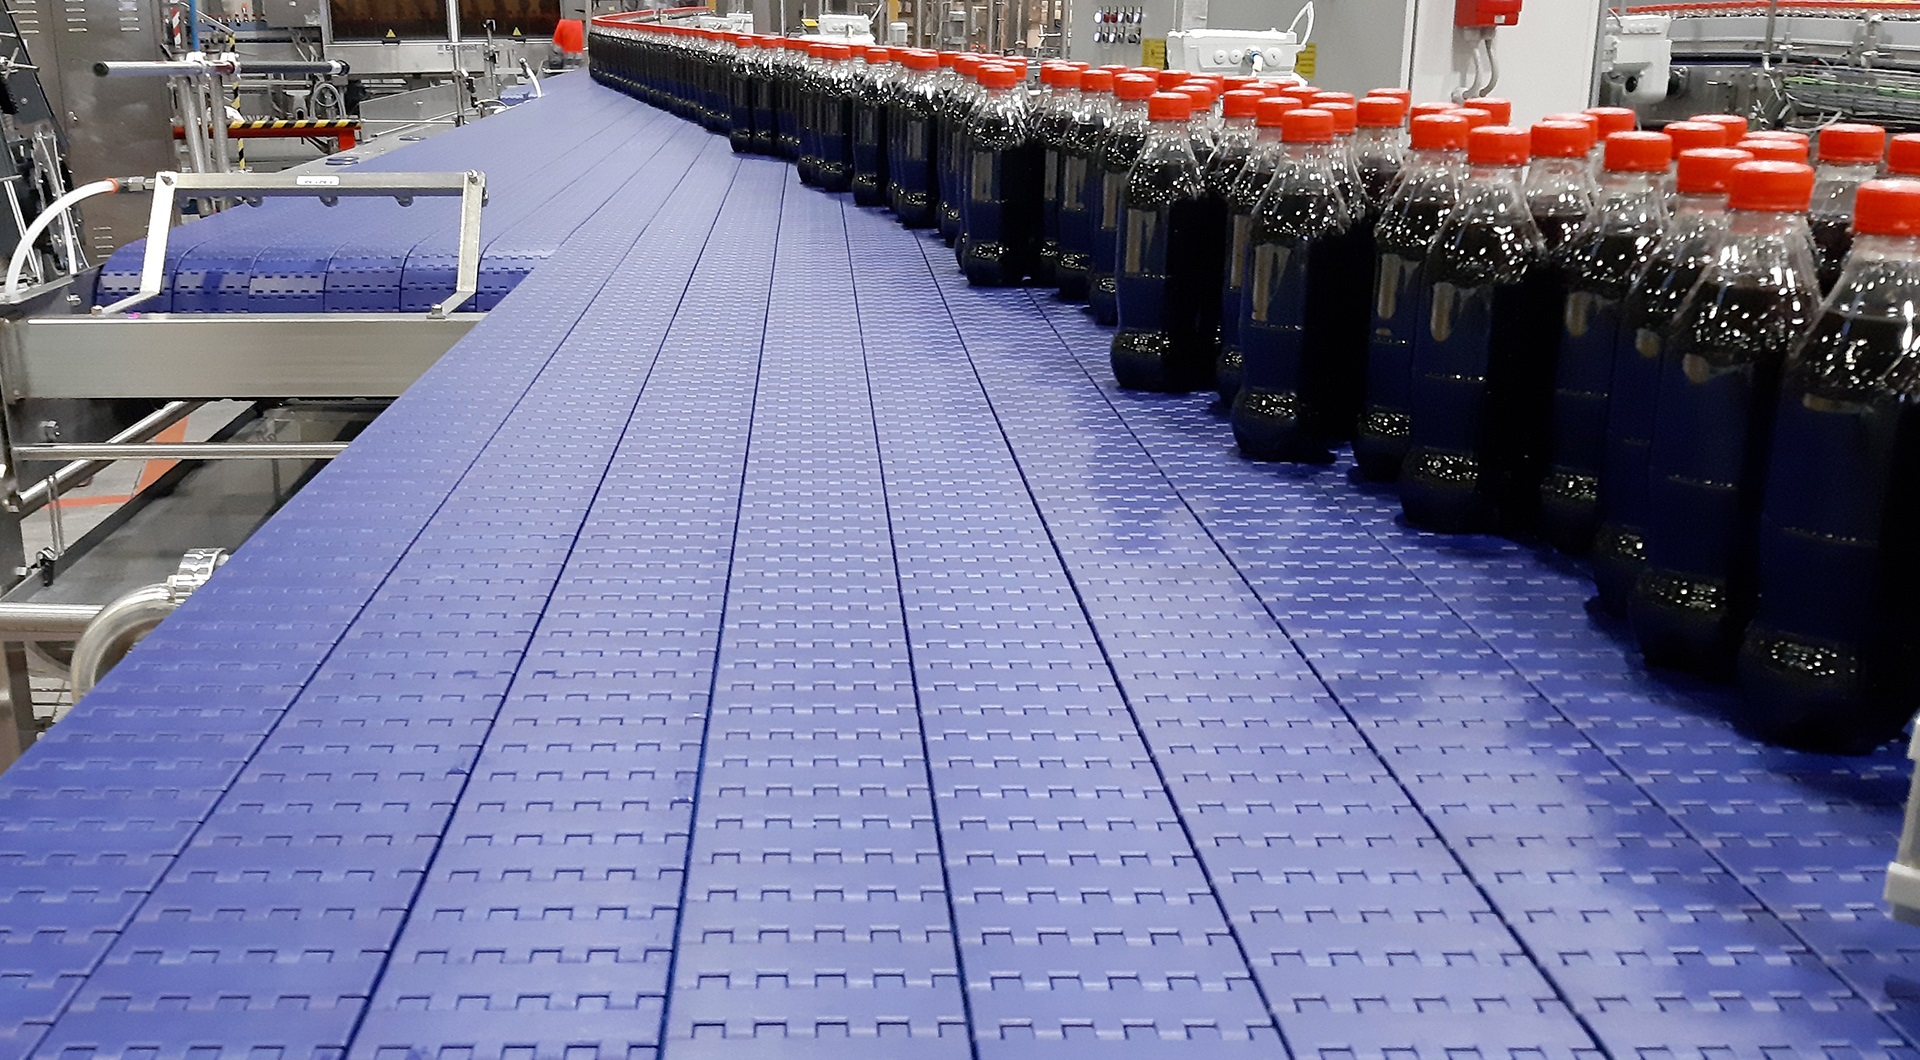
e-F.A.S.T.
Dry running material for ultimate high speed bottling applications
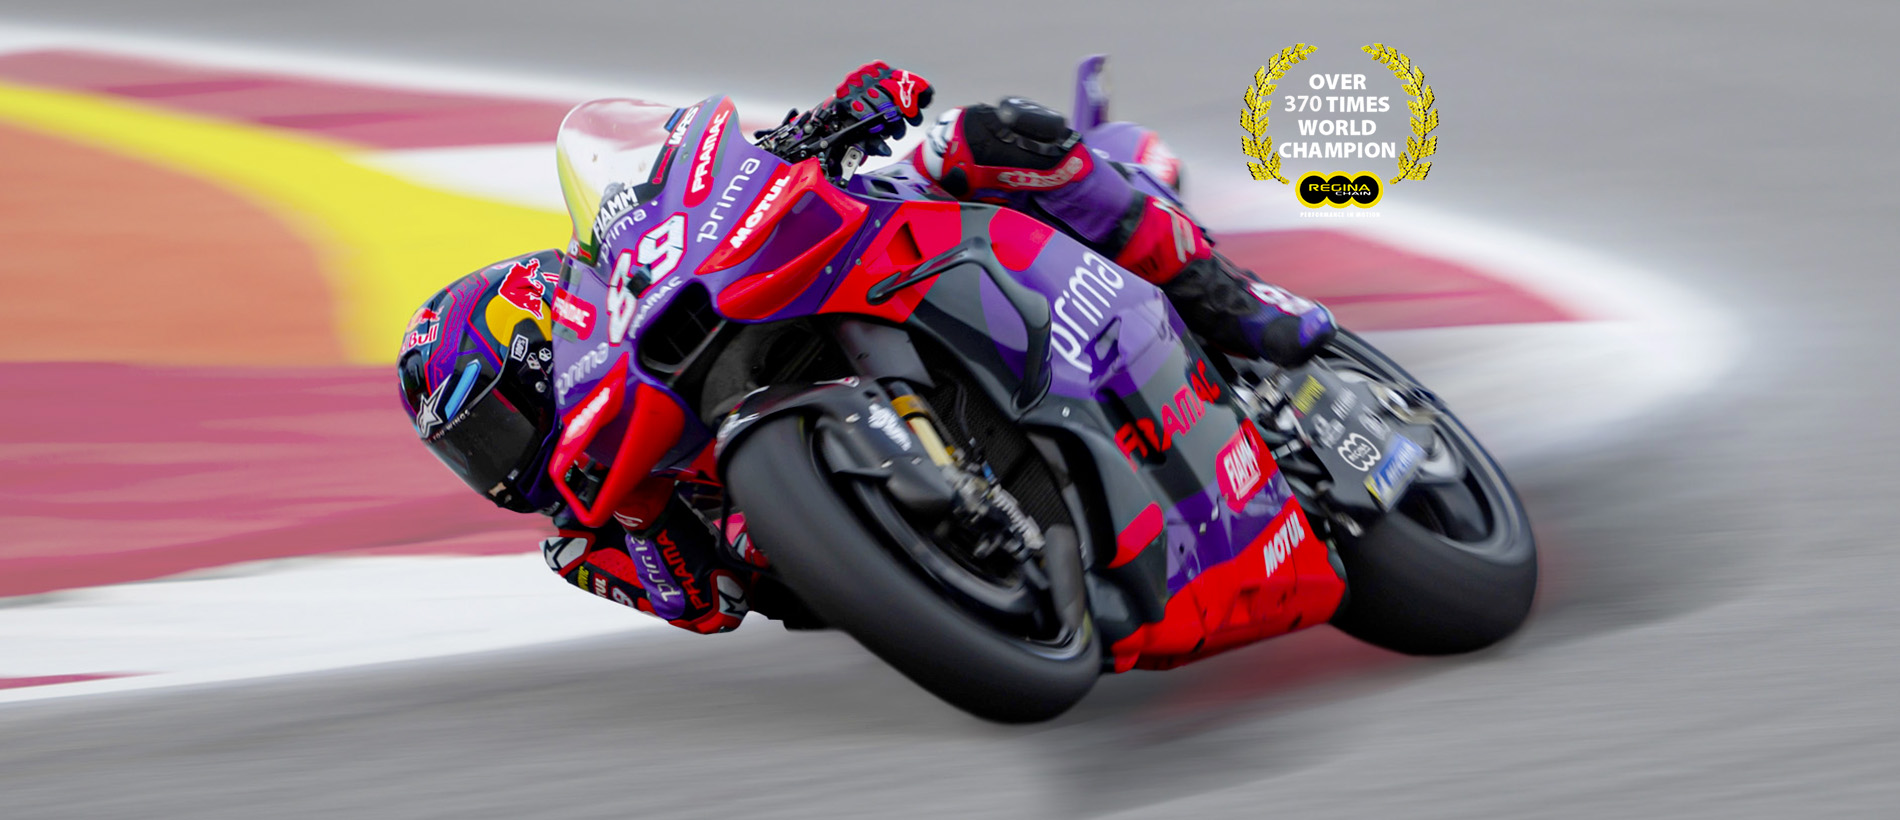
Jorge Martín # 89
Pramac Racing
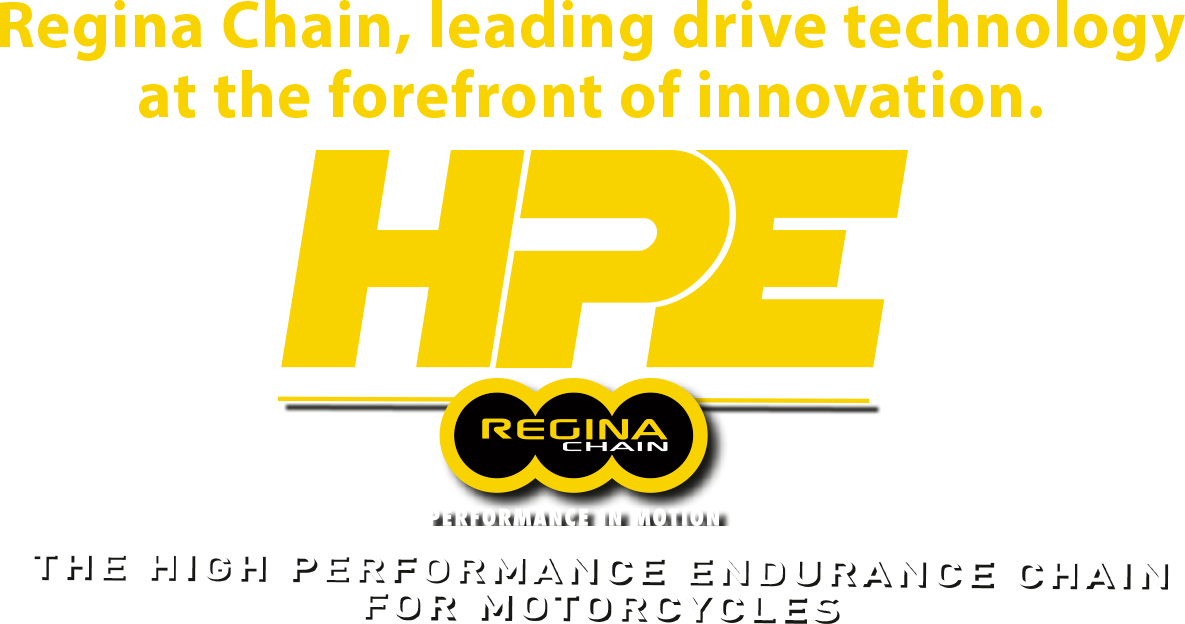
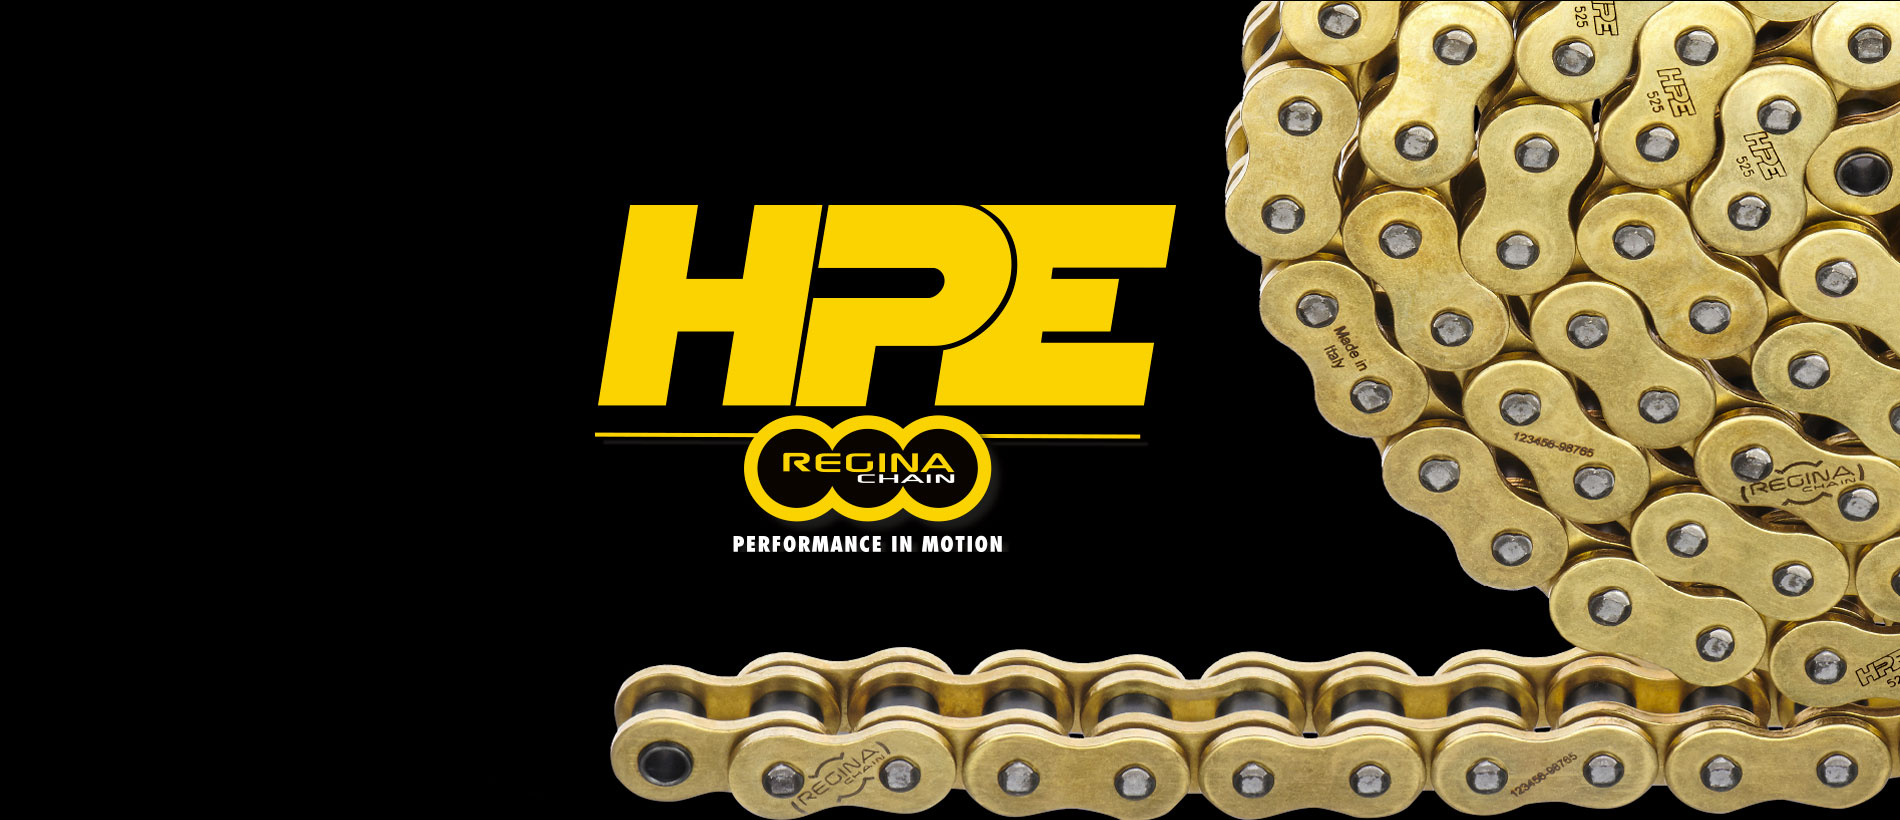
HPE
The high performance endurance chain for motorcycles
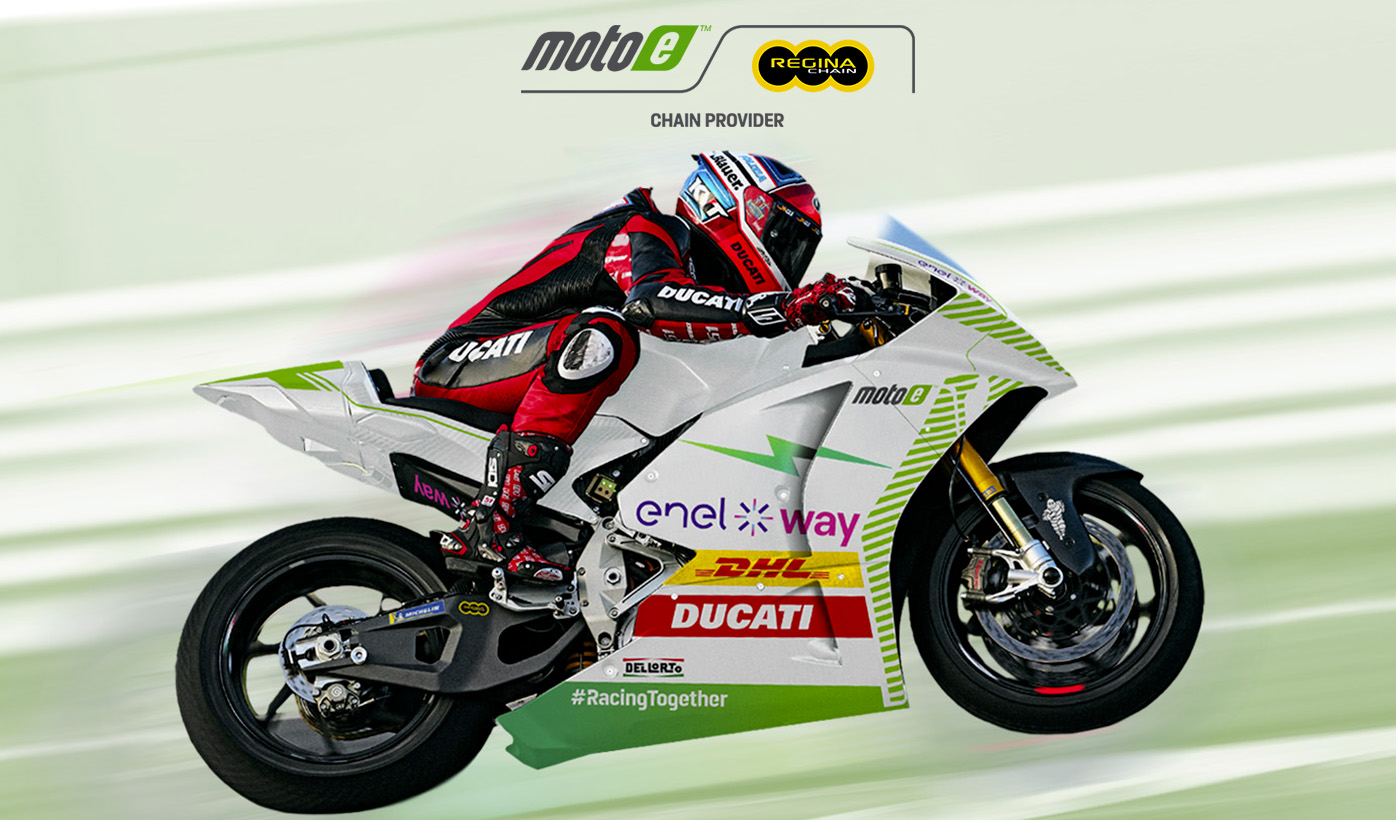
Proud supplier of all
World Championship MotoE teams
Conveyor
Motorcycle
Industrial